Clock
I went with a Tetris-style clock instead of plain digits. Falling blocks build the time, with the date sitting underneath.
[001]Project / The Cube
Voice-controlled physical computing system
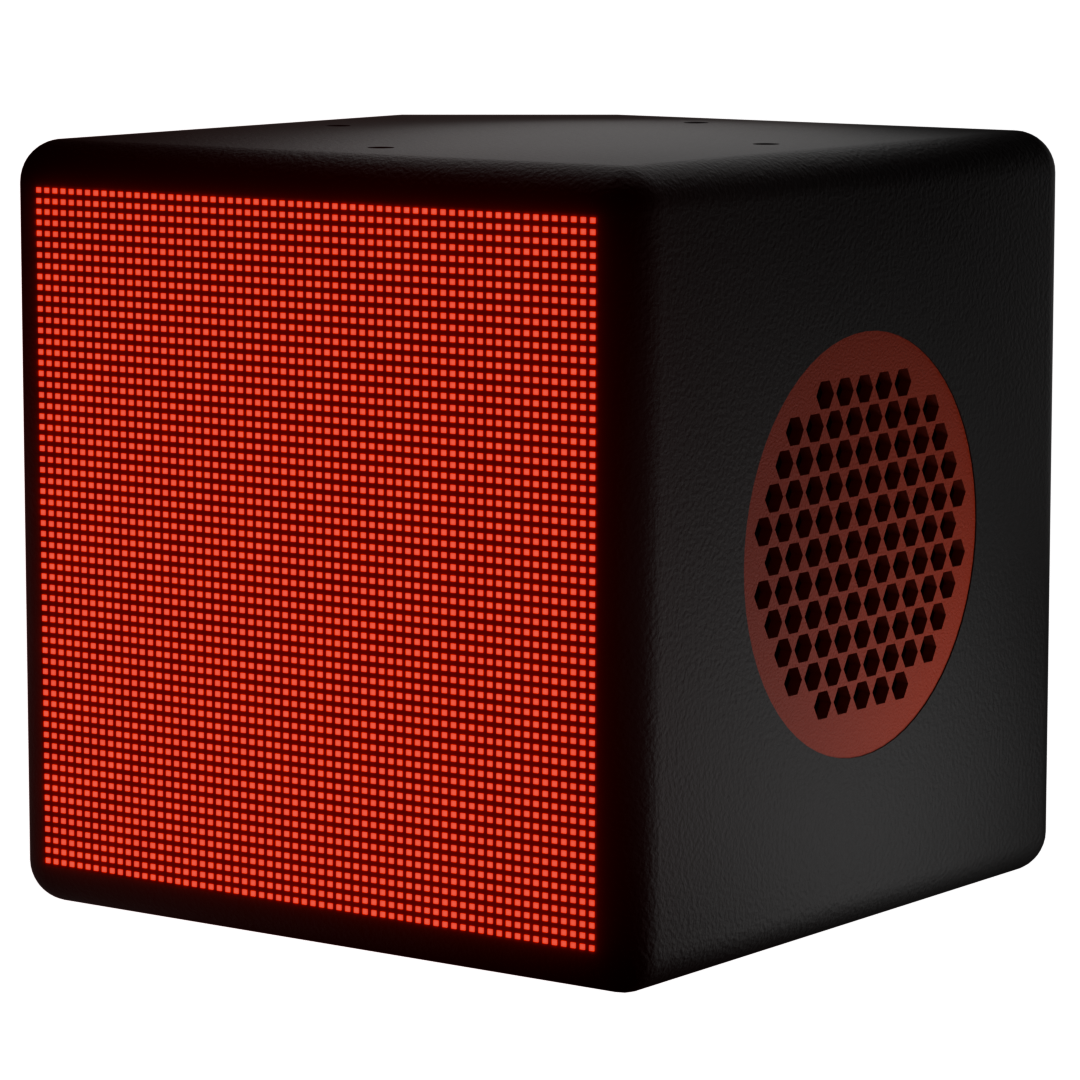
A compact hardware and software system combining voice interaction, a 64×64 LED matrix, integrated audio and a custom-designed enclosure around a Raspberry Pi 5.
[002]
What Cube can do
I can ask Cube to download a movie through my home server, clarify which title I mean, and check its progress later. It announces when the download starts and when it’s ready. I can also cancel a tracked request after confirmation.
Explore my server’s movie automationI can play tracks, artists, and playlists through Cube’s built-in speaker or a connected Bluetooth speaker, and switch between them by voice. My phone controls the same Spotify session. Music and assistant speech have separate volumes, and music gets quieter while I talk to Cube.
For conversations and more flexible requests, Cube connects to an LLM running on my PC. Alongside answering questions, it can request actions for movies, lighting, plug status, and Cube’s controls. The backend checks and executes those requests. The PC also provides speech recognition and synthesis.
Between interactions, the 64×64 display cycles through a falling-block clock, animated weather, pixel animations, and Spotify artwork with playback progress. It also shows when Cube is listening, thinking, or speaking.
I connected Cube to my Govee lights and Tuya devices so I can control them without opening their apps. I can switch individual devices or groups, adjust supported light brightness and colours, and check whether a plug is on.
When Cube asks for clarification, I can answer without repeating “Hey Cube” during the follow-up window. I can also interrupt a spoken reply with another wake. Movie requests support corrections such as “the newer one” or “no, I meant…”.
My PC doesn’t have to stay on. Supported music, lighting, plug, and device commands work without the AI node, using speech fallbacks on the server and Pi. The backend still needs to be running.
[003]
Display apps
Rendered previews from Cube’s display apps, using sample data.
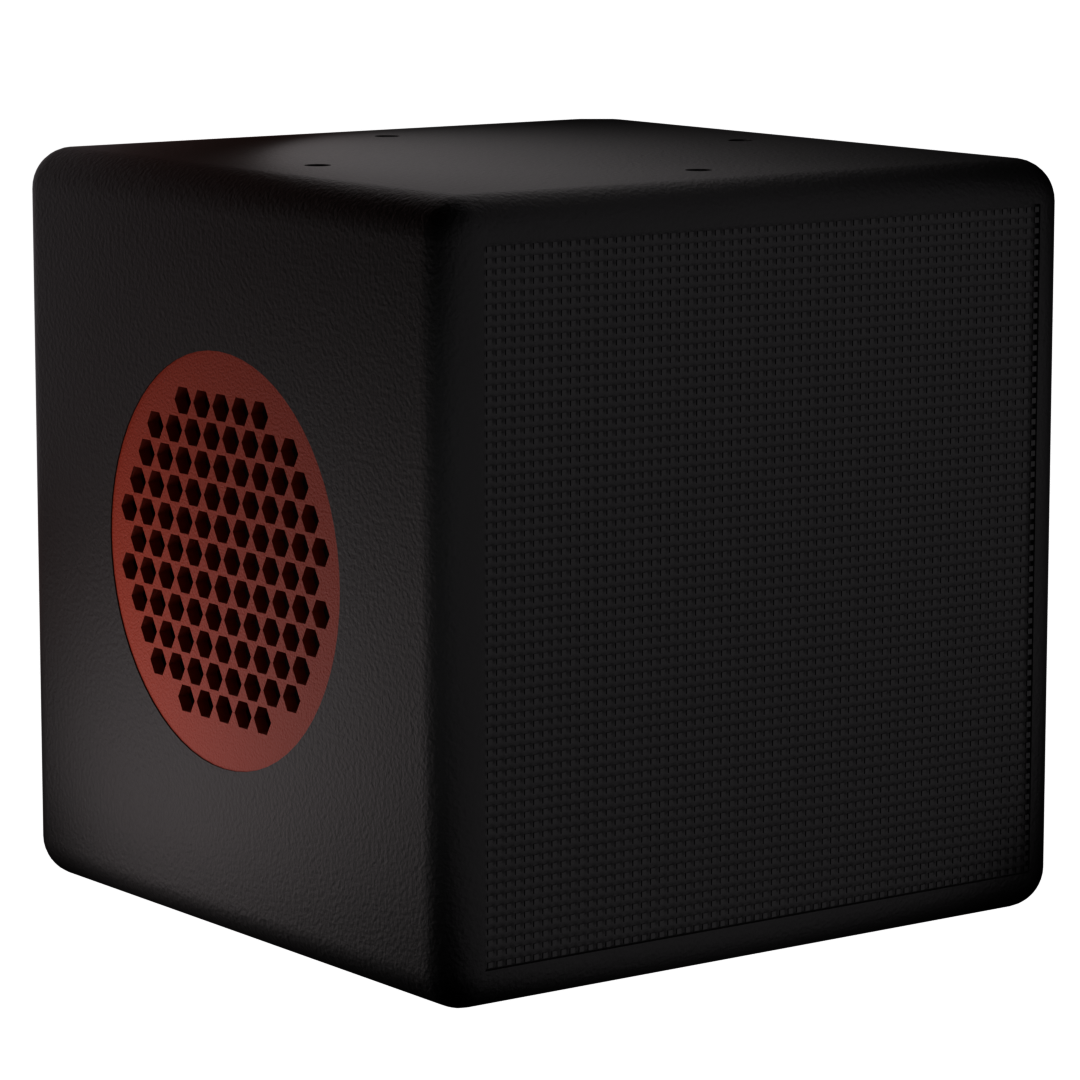
I went with a Tetris-style clock instead of plain digits. Falling blocks build the time, with the date sitting underneath.
I kept the weather screen simple: the current temperature, chance of rain, and a small animated scene that changes with the conditions.
I added this mostly for fun. I can convert GIFs for the 64×64 panel and have them rotate between the other screens.
I connected Cube to Spotify so I can control music by voice or from my phone. The display shows the album cover and track progress.
[004]
Physical Design
Explore the structure, component layout and enclosure of the Cube.
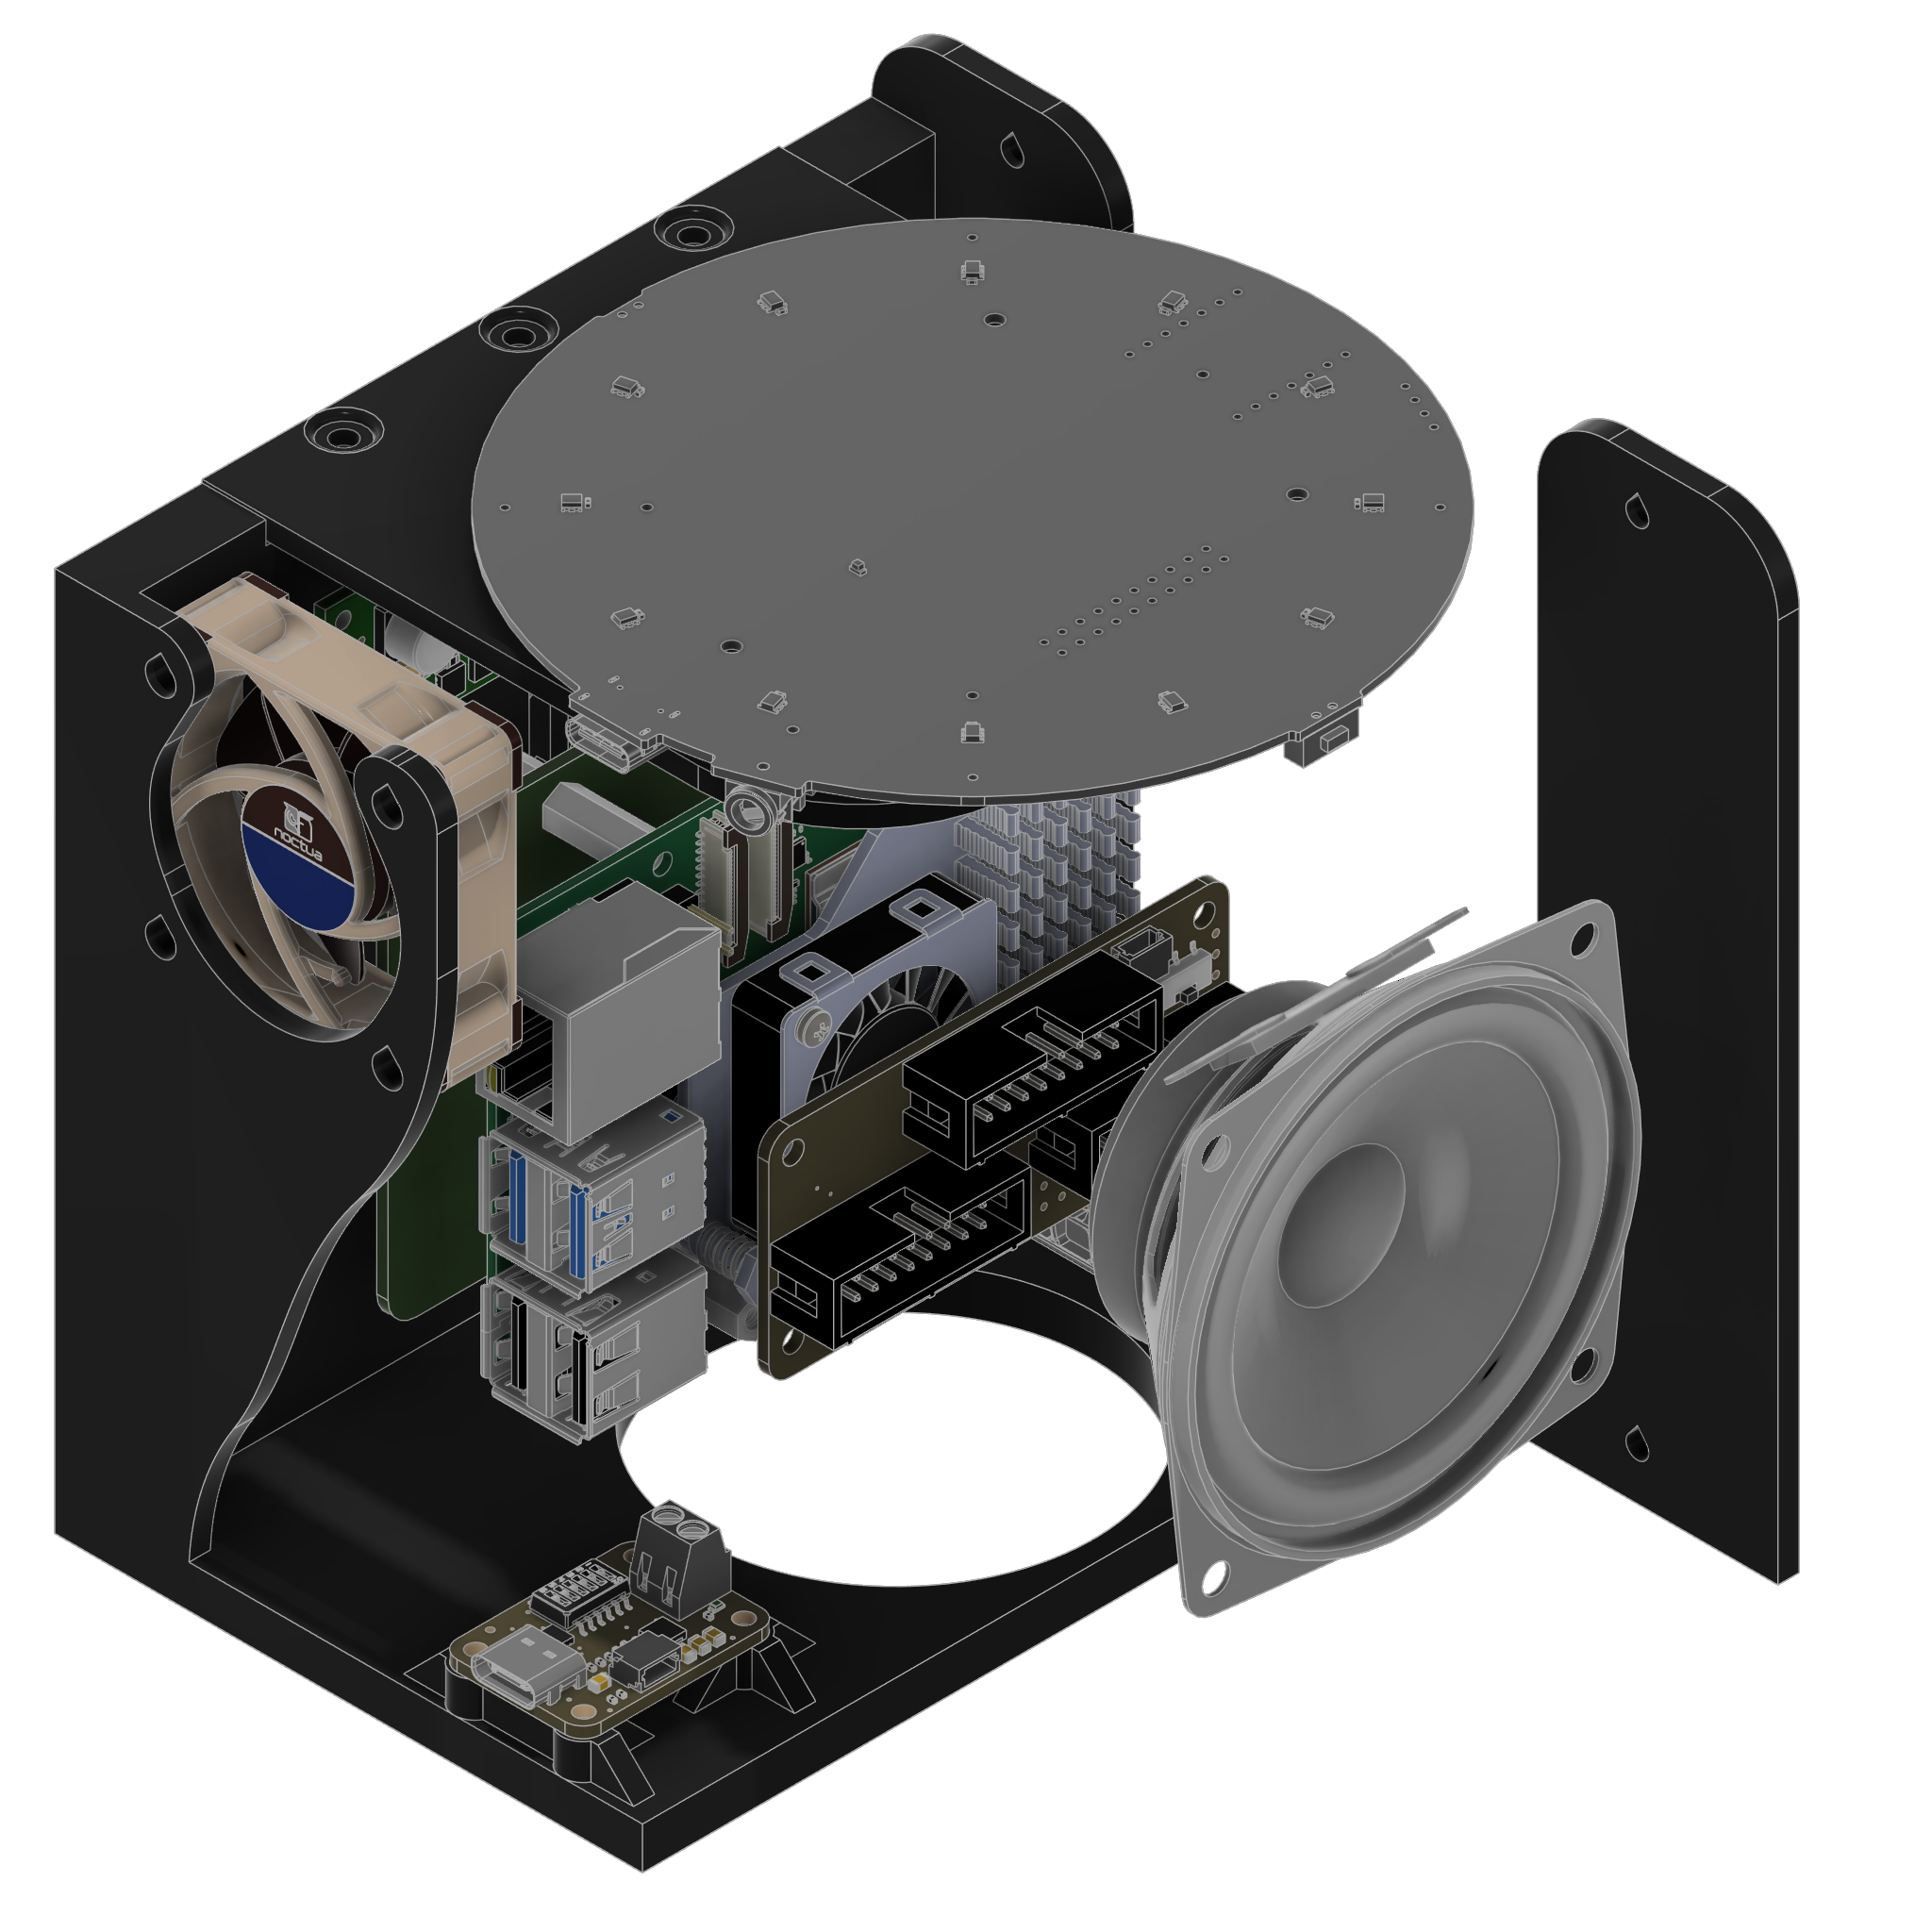
I designed the internal body specifically around FDM 3D printing. The print orientation was part of the design from the beginning, and I used chamfers, slopes, gradual transitions and teardrop-shaped holes to avoid unsupported geometry and keep the main structure support-free.
I also built cable routing into the printed body instead of letting wires sit underneath the boards. The channels keep the wiring in place and prevent cables from touching the underside of components such as the 52Pi board. Mounting points use heat-set inserts so the hardware can be removed and reassembled without wearing out the plastic.
I mounted the Raspberry Pi stack vertically because it worked better for the airflow I wanted. Instead of the air hitting the boards from underneath, it can move upward between and alongside them. Cool air enters from the bottom, passes through the stack, and the fan near the top pulls the warm air out.
Clearances were the part that took the most trial and error. Some dimensions that looked fine in Fusion 360 were too tight once printed, especially around boards, connectors, screws, and cable paths. I went through four prints before everything fit the way I wanted. Each version changed small things like tolerances, mounting positions and cable channels rather than completely redesigning the part.
Most of the work went into the proportions, wall thickness, openings, and the way the shell fits around the internal body. I also had to make sure the ports, speaker area, ventilation, and screw access still worked once everything was enclosed.
Just like the internal body, the shell was designed with 3D printing in mind, so tolerances and assembly clearances were part of the CAD from the beginning instead of being fixed afterwards.
I designed and printed a separate chamber to give the speaker its own sealed space inside Cube. To prevent air leaking between the printed plastic parts, I also printed a flexible TPU gasket to seal the joint.
One unexpected challenge was mounting the speaker itself. Its frame had very little surface area at the top and bottom to rest against the chamber, so getting it to sit flat and form a proper seal was more difficult than I expected.
05 / Hardware
These are the main components inside the Cube.
Compute · 8 GB
RGB display
Microphone array
Full-range speaker
USB-C PD negotiation
Pi power delivery
Voltage regulation
40 mm · Active airflow